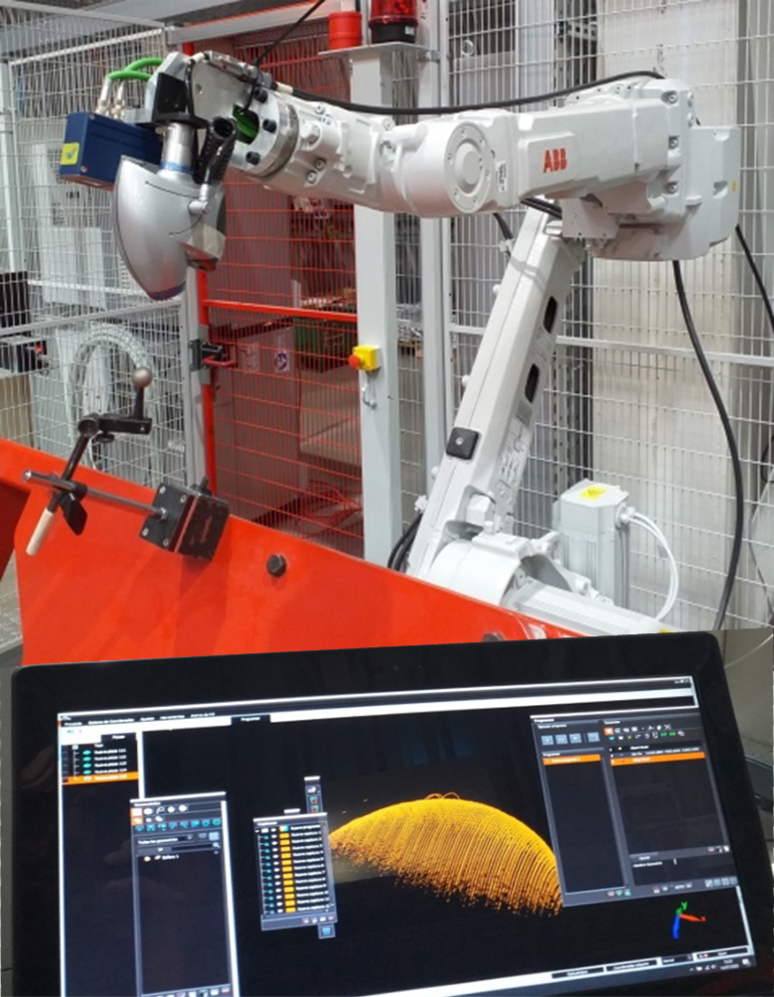
Dimensional Control Cell with in-line optical scanning with M3 software for validation of sheet metal forming

DESCRIPTION
The Dimensional Control Cell for smart and connected manufacturing within an industry 4.0 line of production is composed of a Coordinate Measuring Machine (CMM) with an anthropomorphic robotic arm to optically scan (OptiScan). The ABB IRB 2600 enables greater flexibility, speed and measuring compatibility thanks to its 6 degrees of freedom and the Absolute Accuracy mode.
This, along with the data recollection and analysis capabilities, machine control and measuring process simulation with a single software (M3) facilitates a flexible, dynamic and smart process workflow.
MOST OUTSTANDING EQUIPMENT AND COMPONENTS
Anthropomorphic Robotic Arm ABB IRB 2600ABB IRB 2600 is part of the highly-precise new generation robotic arms with improved capacities and an Absolute Accuracy option. The robot has 6 degrees of freedom (non-cartesian system)
M3 software is a high performance software for the capture and analysis of point clouds
M3 server: the M3 database uses the standard VPX (Virtual Part Exchange) that allows the information to be stored, shared and filtered with great efficiency, connecting the database directly with the scanning system and the software.
OptiScan is a scanning laser sensor that allows to obtain high precision 3D digitalisations for reverse engineering applications, virtual metrology, automated inspection and robot guidance.
SERVICES OFFERED BY THE ASSET

Analysis of the results

Automation and management of the quality

Measurement and quality control with robot

Optimization of 3D geometry

Quality control in-line of production

Training
ENTITY MANAGING THE ASSET

ASOCIACIÓN DE EMPRESAS TECNOLÓGICAS INNOVALIA
Contact person: Alicia González Cabestreros


